Step 1: Finding a theme for the showpiece
“As it is almost Christmas, I settled on a Christmas theme for the sculpture. I wanted it to be fun, interactive and to have some level of entertainment all age groups could engage with.”
“I researched people who have done showpieces before using chocolate, boutique designs and Christmas themed sculptures to give me a bit of inspiration. I also have to keep in mind that I am doing this with students so all techniques have to be in line with what we have taught them as skills.”
Step 3: Sketching out the showpiece
“I then sketch my first draft of what the sculpture will look like – this showpiece needed to contain various parts and each student was assigned to a different part of the sculpture. Every element of this sculpture had to also be complimentary of one another.”
Step 4: Working out the specifications
“After the first sketch I considered movement, I also considered the lightness of the sculpture, as it cannot be too heavy. Whilst keeping it fun and playful; I needed to keep in mind that we cannot make it too simple – the sculpture needs to have, and use, plenty of technique. I also factor in time as we only have three days in total to complete it.”
Step 5: Creating the sculpture
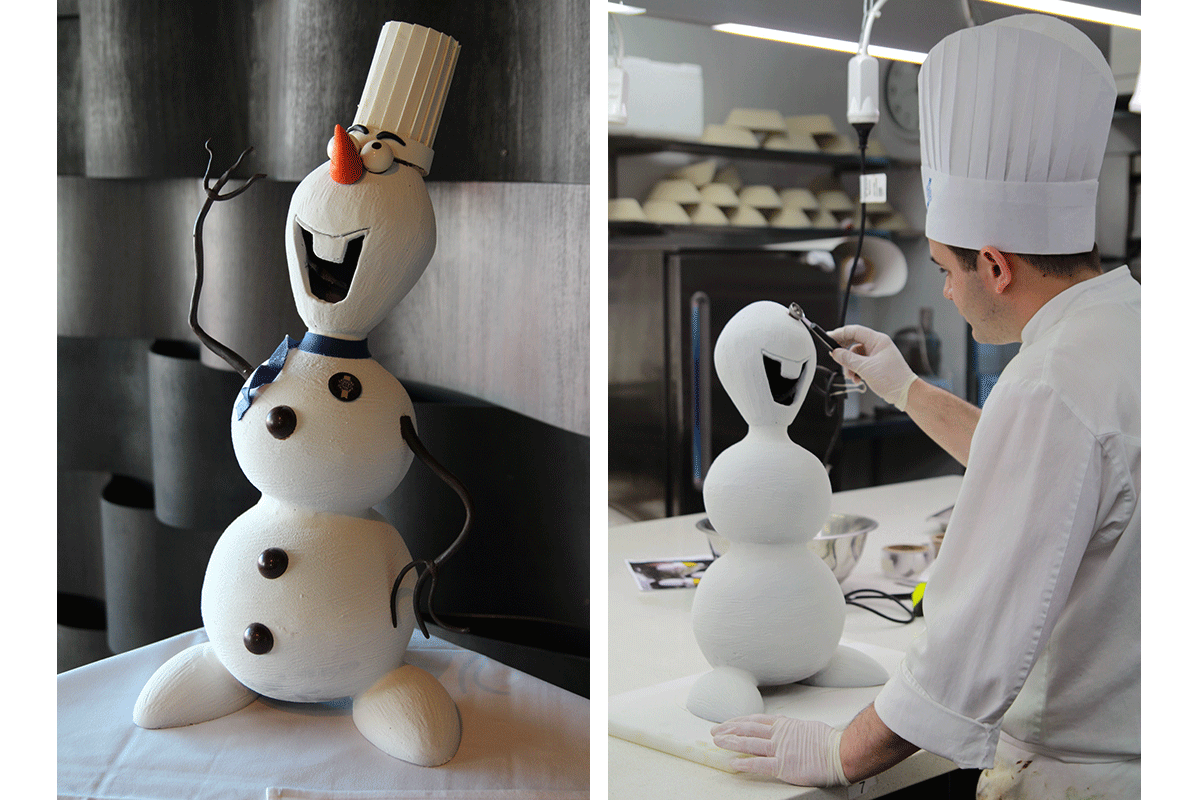
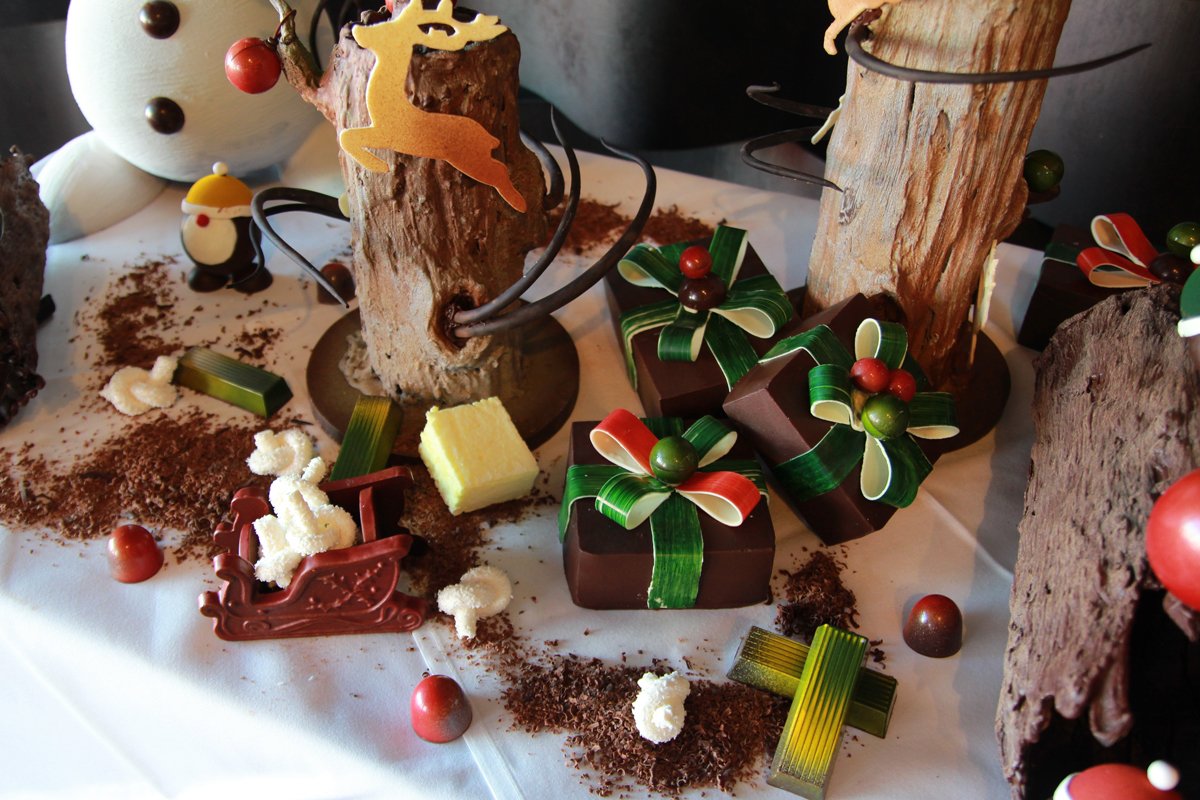
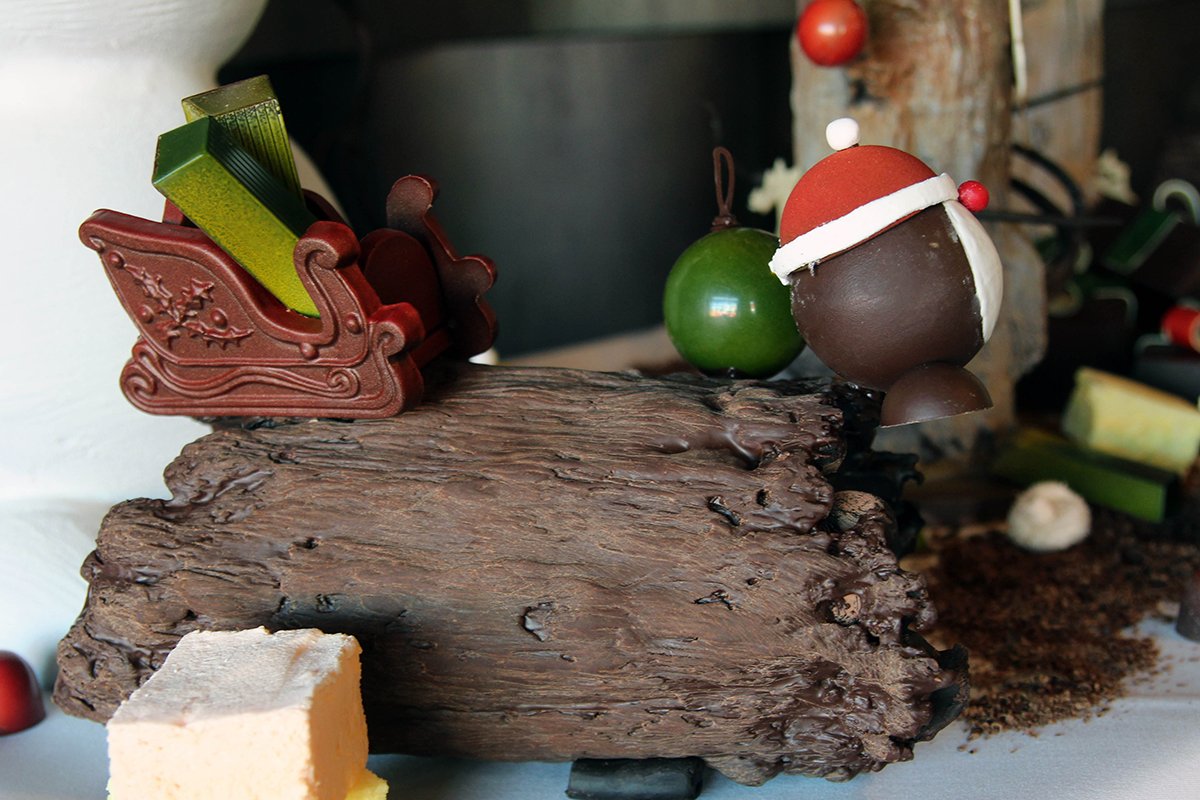
“We start with a mass, then begin to sculpt. We used three different types of chocolate to make the entire sculpture. Solid chocolate, soft, clay-like chocolate and liquid chocolate. The construction of elements was the most difficult part as every piece differs in weight - you have to take this into consideration when constructing the elements.”
"We use a tempering machine with liquid cocoa butter to paint the pieces. To achieve the snow-like effect on the snowman, we freeze the chocolate so when the cocoa butter coats the chocolate, it has a velvet-like effect. To achieive the glossy coat on the Santa Claus, we use a cloth dipped in iced water and run it over the chocolate to produce a high-shine effect. Many different techniques go into the creation of the sculpture as a whole."
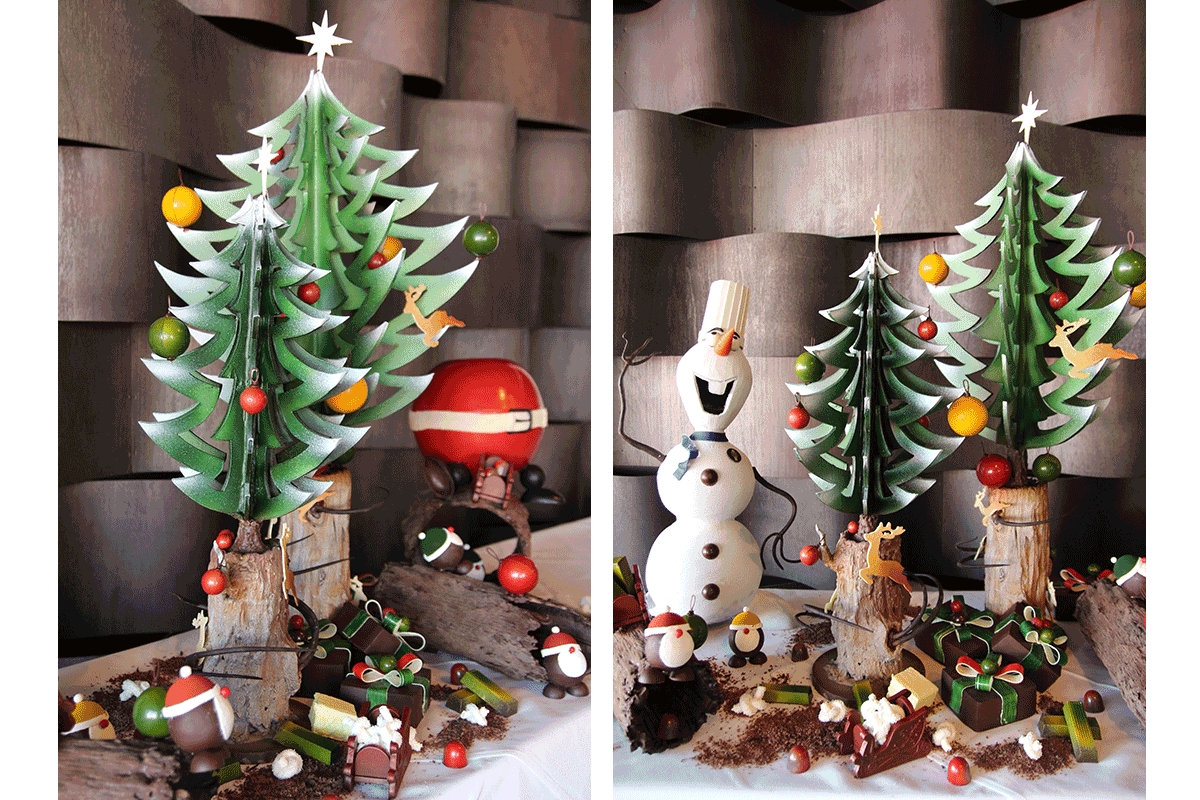
Step 6: The finished product
Seeing the final product is the biggest highlight for our students. It is a very stessful and full-on three day experience, so on the third day, when all elements are assembled to create the final sculpture, the students get to see their work transform into a masterpiece."